Guide to Keel Maintenance – Part 1
Nov 29, 2023
By William Souter, Custom Keel Sales & Design, MarsKeel Technology
Keel maintenance is like any other maintenance on the boat; it is a matter of keeping an eye out for any tell-tale signs of water, or corrosion or wear. If you can stay ahead of it, it is extremely unlikely that major maintenance concerns will arise.
The most common maintenance concerns for both lead and iron keels are the exterior surface condition and the keel bolts. Lead and iron keels have similarities and differences in these two matters.
This guide will help you better understand the potential keel concerns and what it generally takes to fix them.
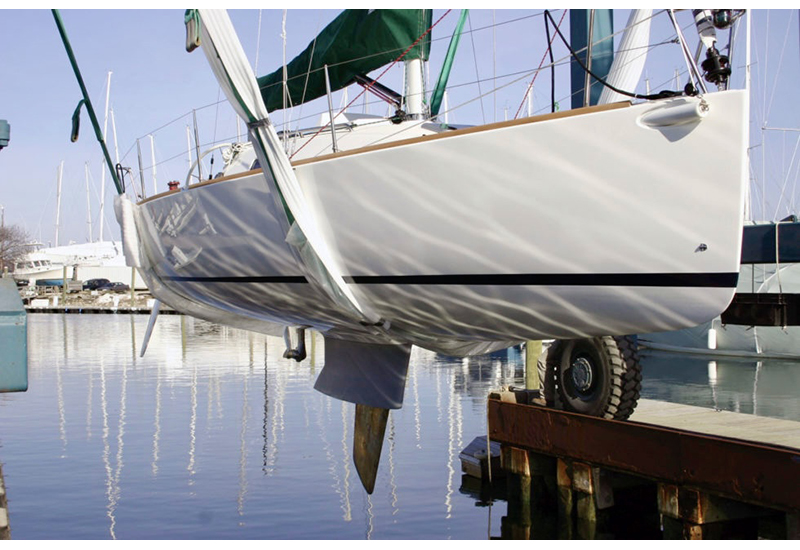
Surface Conditions
In terms of the surface condition, both keel types can be very easily inspected for problems, such as groundings, strikes, impacts or general deterioration. The timely, (that is to say repairs carried out shortly after the flaw is found) solutions to these concerns, while being slightly different for lead and iron keels, can be accomplished relatively easily with the appropriate materials and guidance. It is in the long-term results of allowing and surface flaw to go un-repaired that the differences in an iron and a lead keel can be seen.
The Lead Keel
After a surface flaw is found the lead keel will generally not show any particular signs of deterioration for quite a period of time. Lead is relatively stable. Some corrosion may develop but it is generally very small amounts of trace metals that are present in the casting alloy breaking down. The trace elements would only represent perhaps 1/10 of 1% or less of the material in the casting, a very small amount.
Any surface corrosion that is present can be quite quickly and easily removed with a coarse sanding. The water will tend to loosen the fairing on the keel if the surface flaw is left for a period of time. Please be aware that lead is dangerous if swallowed or in hailed; therefore, always use proper protective clothing, you should wear coveralls, goggles, gloves, work boots and most importantly a proper type rated and fitting respirator. Consult a local safety supply dealer or physician if in doubt about what to wear when you are working with lead. Once the surface is prepared, the lead is clean (lead will appear as shiny silver) and it is roughened (there has to be a “tooth” or roughness on the surface of the lead to assist the fairing to adhere) the re-fairing can be done. This can be done with a range of materials, from polyester to epoxy based fillers.
In outdoor applications, where the spring temperatures can fluctuate widely the faster drying polyesters are a good choice. The epoxy or vinylester based fillers are better barriers to water and water vapour but the extended curing times coupled with spring weather can lead to incomplete curing or water contamination. Paint and filler manufacturers are working on developing quick drying epoxy fillers to solve this necessary compromise. You can fair right over the prepared lead surface or if desired you can seal it with a barrier coat such as Interprotect 2000E before applying fairing. Always make sure that your fairing and coating materials are compatible and will bond with each other. For example, you can put epoxy over polyester but not the other way around. Your material supplier can assist you with getting the proper materials for each stage in the process. Once the chosen materials have been applied and sanded smooth the appropriate number of coats of an epoxy barrier coat should be applied, based on the manufacturer’s recommendations.
Great care should be taken to inspect the faired surface for any pin holes; these will not be filled with the barrier paint and will remain as passages for the water to the keel surface. These holes can end up wasting all of the time and money spent repairing the surface, not to mention the frustration of finding lifting filler next fall. The holes can be spot filled with the chosen filler before the barrier coat or after the first coat, using thickened barrier coat as the filler. I have never checked with paint manufacturer to see if they approve of thickening their paint but I have never seen any failures of it. After the spot filling the rest of the barrier coats build up is applied. The final set would be the application of the anti-fouling paint.

The Iron Keel
Based on irons tendency to corrode when exposed to water an iron keel with a surface flaw will begin to corrode relatively quickly. As in the case of the lead keel the water will tend to loosen the fairing on the keel. The exposure to water will lead to a cycle of fairing failing, exposing more of the iron to water and more corrosion, making the problem worse.
The solution is a rather time-consuming chore of either grinding or blasting the surface rust off the casting leaving a clean surface to fair to. This process is not easy because of the hardness of the iron and the roughness of the cast surface, present in sand castings. The other difference in the repairing of the surface other than the amount of time is the use of an etching primer before the first coat of barrier and the required fairing. From here on the fairing process is the same as a lead keel or for that matter a hull.
Next time: Keel Bolt Deterioration and Casting Deterioration