Do It Yourself Deck Repairs
March 26, 2020
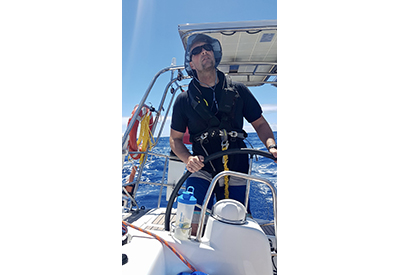
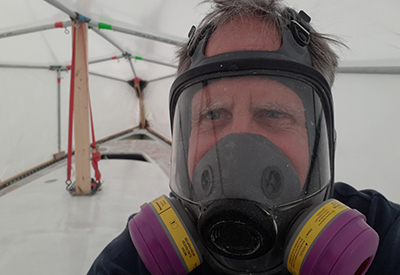
Graham Heath models a good respirator for painting under the tent.
by Graham Heath
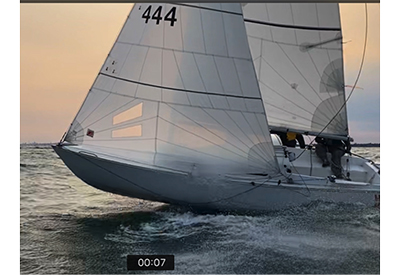
After a successful R2Ak and regatta season in 2019, I felt that Pitoraq was due for a major maintenance catch-up. I decided to forgoe winter racing and take advantage of an extended haul -out from October to March.
On the deck, there were a number of issues that seem to be typical of middle aged boats.
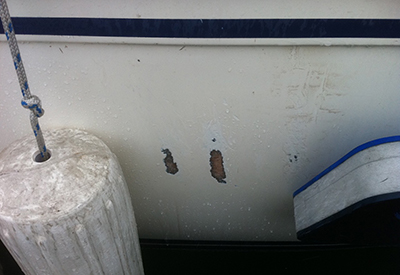
- Tapping on the deck with a small hammer revealed 9 areas with a hollow sound that could indicate a soft core or some kind of void.
- Spider cracks in the gelcoat at some of the stanchions and other areas.
- Gelcoat worn, aged and porous.
 Shrink wrapped, hardware still on.
With a shrink wrapped enclosure built for the winter it was time to deal with all the deck issues in one go.
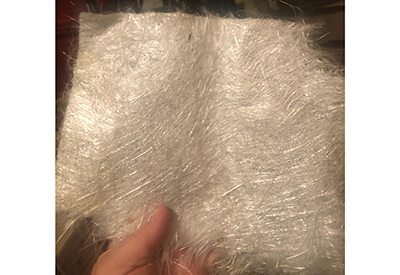
With all the fittings removed the first job we tackled was the void spots revealed by tapping the deck. These areas I ground out the top layer of fiberglass down to the balsa core. What I found in these areas was that the top layer was not bonded to the core in what I assume was a manufacturing defect when laying up the core onto the glass. My fear of finding wet balsa core was not realized, so I could carry on and repair by feathering out the glass and laying up with fiberglass and epoxy.
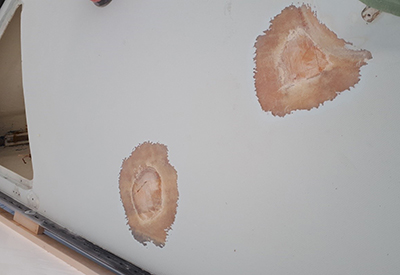 Some of the deck repairs.
After doing several of these repairs, the deck was a patchwork of smooth epoxy repairs and the original molded diamond pattern non-skid. I knew this was coming so I was resigned to getting rid of the original non-skid, and then starting from scratch with a smooth deck, I would apply a textured coating to the areas desired and paint the areas I wanted to remain smooth. Easily said, but it turned out to be a long and labourious process. I quickly learned that gelcoat is harder than you might think, and the diamond pattern is quite deep so sanding it smooth was not feasible. A grinder might have worked, but in an enclosed space the dust build up would have been horrendous. The best DIY method I could come up with was to reduce the profile of the gelcoat non-skid with a DA sander connected to a shop vac for dust collection, then wire brush to clean and abrade right into the grooves of the non-skid.
Over top of the cleaned and sanded non-skid I applied a skim coat of West Systems Epoxy and 407 Fairing Filler (the red stuff).
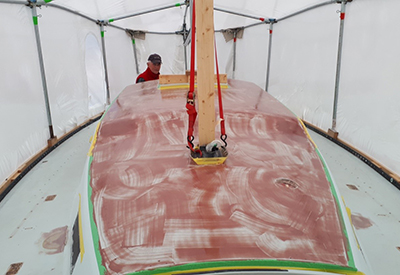 Cabin top skim coat of filler.
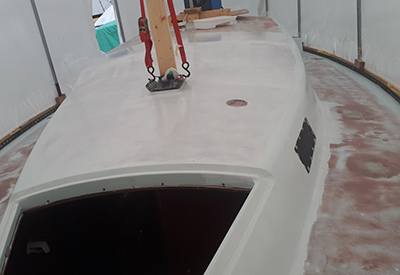
Then a bunch more sanding to bring the filler down to the top of the gelcoat and the deck was smooth.
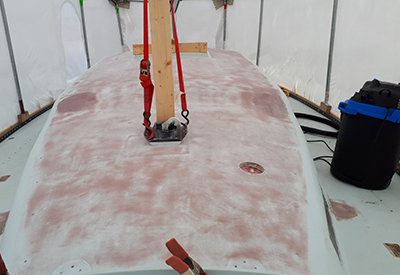 Cabin top sanded.
The areas of repair show as solid red and the filler over the non-skid shows as a diamond pattern of the red filler and the original gelcoat. The really slow part of the whole effort is the sanding , so it is best to minimize the amount of filler applied, but you still need enough to completely fill the non-skid pattern or the pattern will “print” through when the finish paint is applied. I found that a steel drywall scraper worked better to press the filler down and smooth it out thinly than the more flexible plastic Bondo spreaders.
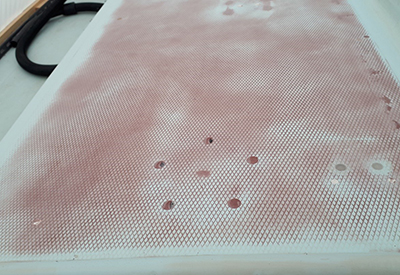 Fairing filler sanded until the pattern shows
Over top of everything, I applied two coats of Interlux Epoxy Primekote, figuring that it would be the best tie coat between the final topcoats and the base layer of epoxy repairs, epoxy fairing filler, old gelcoat and fiberglass.
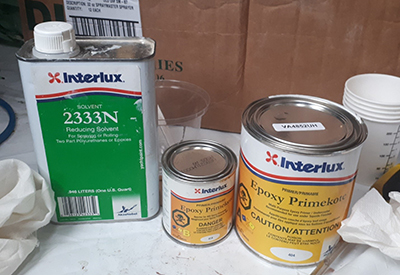 Epoxy Primekote
The two part epoxy primer is pretty stinky stuff so a good respirator is essential.
 The start of the primer coat.
You might notice that none of the hatches are in the pictures. I took them home figuring I could get some evening work in on those. Not very successful there but I did try a different method for deleting the non-skid on them, using gelcoat. More on that later.